Saturday

Kittens & Vintage Brown USA Pottery Mixing Bowls w/ Pot Holders. Still Life Oil Painting is work in progress...


I am excited about painting this work in progress as the largest of the nesting mixing bowls and the potholders are much used (and loved) heirlooms. The kittens were rescued by a friend and are now adults. They found wonderful loving homes as well.

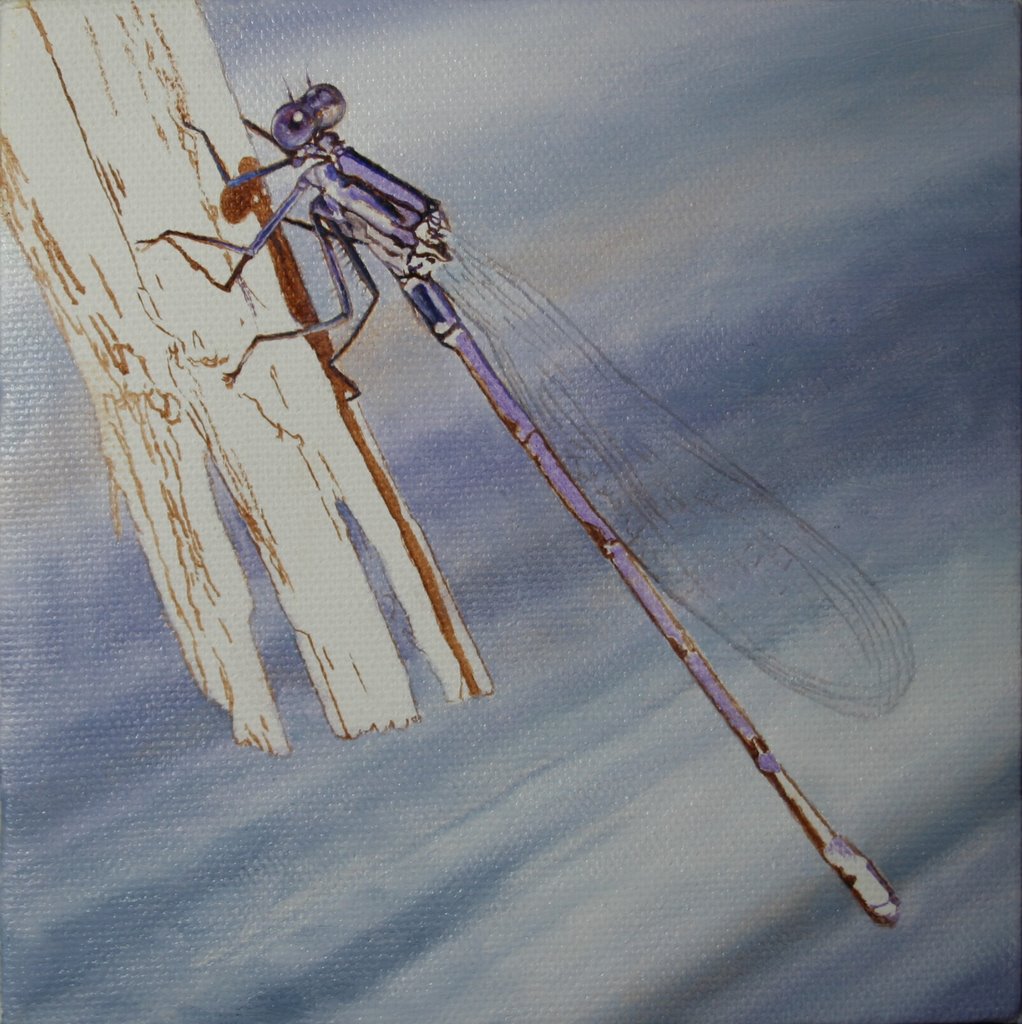
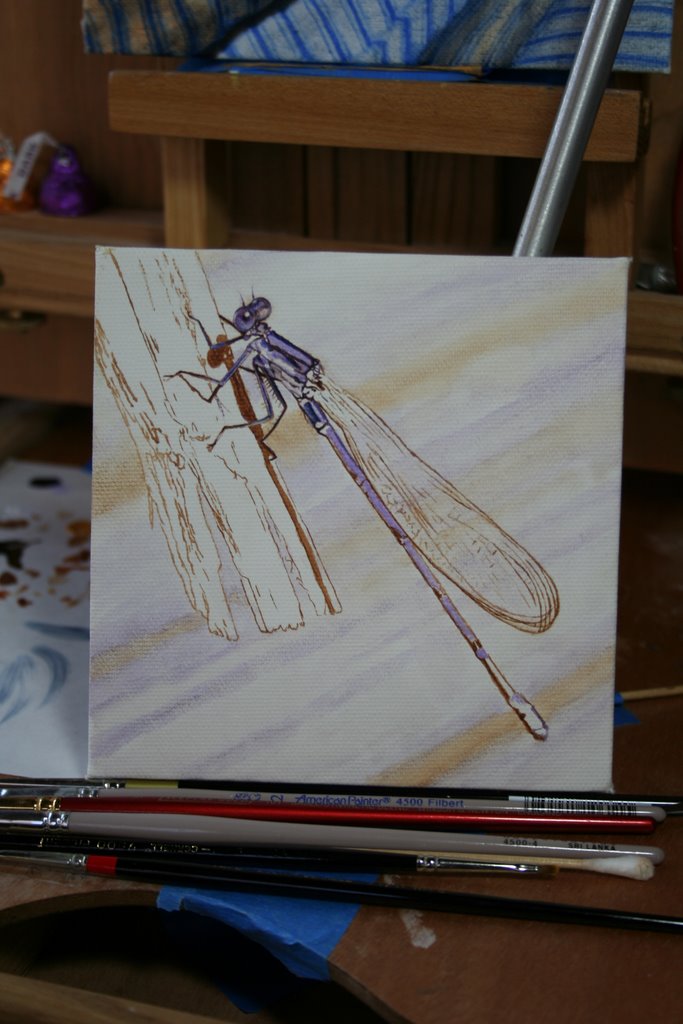
I mapped out the kittens / potholders in washes of ultramarine violet and the bowls in burnt sienna. I prefer ultra. violet as the cats are predominantly white with pale red / brown.

This oil is on 10"x10" stretched canvas. Stay tuned for progress reports ;0)
Carolyn Hietala

Thursday

Painting Daily Oil Sketch No.2 Damselfly Photo Realism Update: another layer of background color applied & detail begins! Not for sale.


Loads more work to be done on background, damselfly & stick.... highlights begin to build.... more detail, more color.... etc! Starting to come alive ;0)

I am mapping in the background and trust me..... it will look a lot better soon! You'll notice that I have covered some of the detail in the damselfly but after taking this photo I was back to work.... cleaning it up before setting it aside for another day ;0) Normally I would have planned the background prior to beginning the painting but since the original photo was taken on a back porch deck..... well after starting it already I decided a trip to the local pond was needed! Algae and beautiful reflections might look more interesting. One great thing about painting in oils is that you can paint right over top in the event you change your mind. Next time you see this painting it will be completed and appear very different than it does right now. I'll be back!


The colors I have used thus far are as follows: Burnt Sienna, Payne's Gray, Ultramarine Violet, and Titanium White. I use filbert brushes for the most part since the painting is small (for linear detail) and also to achieve photo realism. Brush strokes are smoothed so they won't show.

After the drawing of Sienna/turp wash was dry I applied a second layer of paint on the background... even actually covering the damselfly body. While wet I immediately used a small filbert dipped in turpentine (wiped almost dry with a kimwipe) to clean up my initial drawing except for the wings. Since the background paint was not applied thickly over the wings drawing it still shows through for future reference.

While this new layer of background is drying I will now move on to the stick and then to the damselfly for detail work. Oh those wings.... so intricate! Tomorrow if the background is dry I will apply transparent glazes to it to achieve proper color and tone; complete the detail in the stick and insect, then allow all to dry for application of highlights. If all goes well it should be on eBay in a few days.

Some advice: Kimwipes are awesome for wiping and cleaning small brushes.... dust free!

The Damselfly is closely related to the Dragonfly.

Carolyn Hietala

Wednesday

Painting Daily Oil Sketch #2 Damselfly 5"x5" stretched canvas. Very detailed. Close inspection of damselflies reveal their intricate construction.


This painting, still a work in progress, was begun a few months ago but I had set it aside to dry.....got busy and simply forgot about it. Oops. I intend it to be very accurate to the photograph my daughter took of this little insect. It actually landed on her arm during the photo session.

I began with a careful drawing using a turp/oil wash of burnt sienna, a really tiny brush and a steady hand of course. No second cup of coffee ;0) I then proceeded layering thin color washs to establish an underpainting on which to build.

At first glance, one would not notice all the amazing work Mother Nature did on this little insect.....not to mention its brilliant colors. The wings alone are a work of art and I am sure they will be interesting to paint. The Damselfly is a close relative of the Dragonfly and of course...... a favorite meal of Trout ;0)

Congratulations to Mother Nature! Thanks to my daughter for providing me with a beautiful reference photo!

Carolyn Hietala

Monday

Moth Pupa Oil Painting (step by step progression) Painting-SOLD 100% proceeds to benefit ARK (Area Rehabbers Klub) Wildlife Rehabilitation in Virginia

The Catalpa Sphinx Moth Pupa
that inspired this small painting..... shown cradled by a paper towel so as to not roll off the palette while I'm painting! I would have appreciated that it had stayed still though ;0)
(don't forget to click on images to enlarge)


After final color adjustments, detail & glazing applications, highlights, varnishing......
DONE!
Detailed commentary about this painting's progression can be found in my Nature Art blog: http://carolynhietalanatureartpaintings.blogspot.com/ It was painted last year and I thought it might be nice to have the step-by-step included in this blog..... so here it is.
This work was painted from real life subjects (right down to the smallest gravel and moss) that I gathered from my property..... each rested on my easel as I painted.
Now go and compose your own "little gem" oil painting ;0) Enjoy!
Carolyn Hietala